Tutorials
Every workflow, step by step.
Short numbered guides for everything you'll do in Viewrium: your first product, each way to upload, the dashboard, the SDKs, the embed, the Shopify app, and your analytics. Read top to bottom, or jump straight to the one you need.
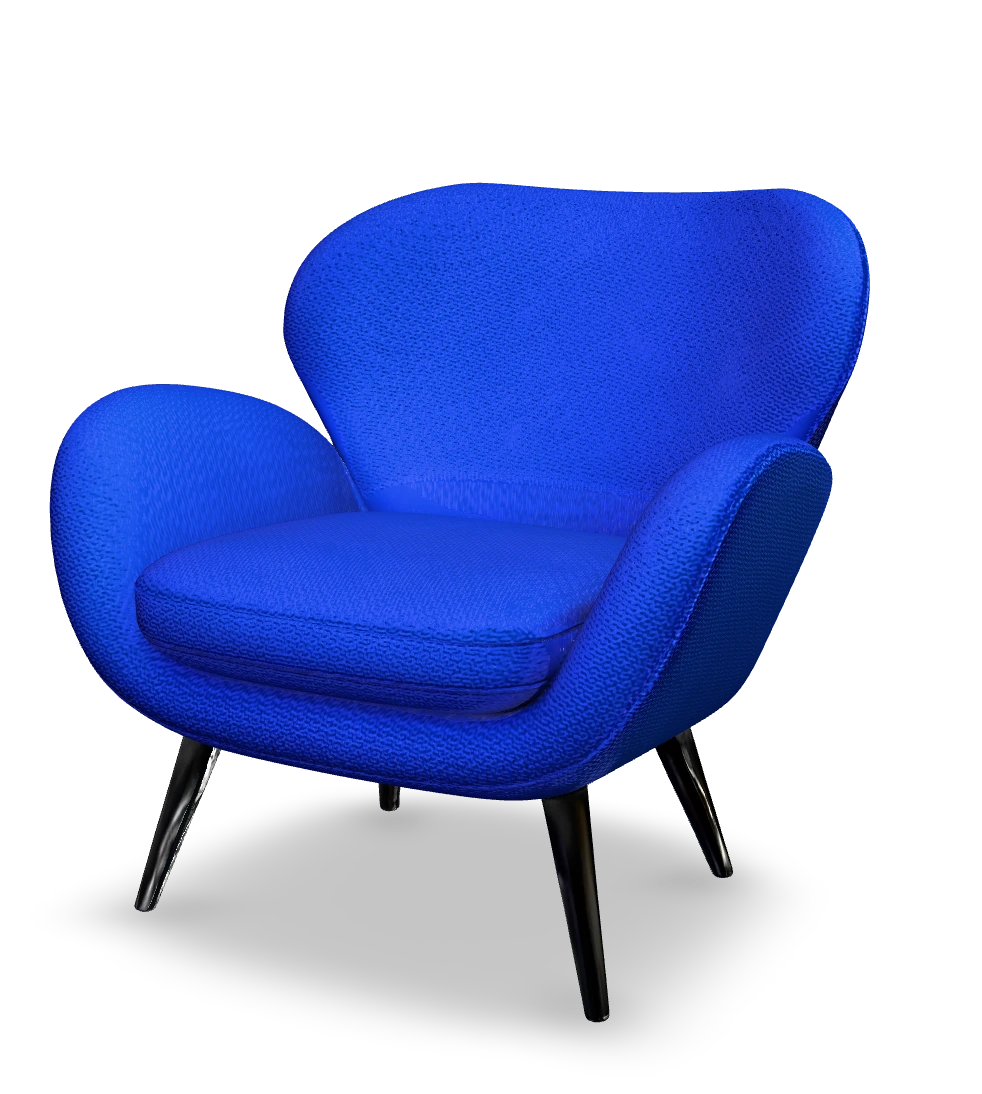
Cobalt sculptural lounge chair
$1,690
A sculptural statement chair in vivid cobalt boucle on a matte black steel base.
Size: 76 x 80 x 82 cm
The first run, start to finish: create, generate, and the finished product as a shopper sees it.
Getting started
Everything you need to go from your first upload to a live AR experience.
Create your account
Head to the sign-in page and create an account. No card. The dashboard opens on an empty catalog.Sign in to ViewriumorAdd your first product
Open Upload and give it photos, a video, or the product page URL. Confirm one measurement so AR shows the product at its exact size.We pull the product photos from the page. One product per link.
Review the model
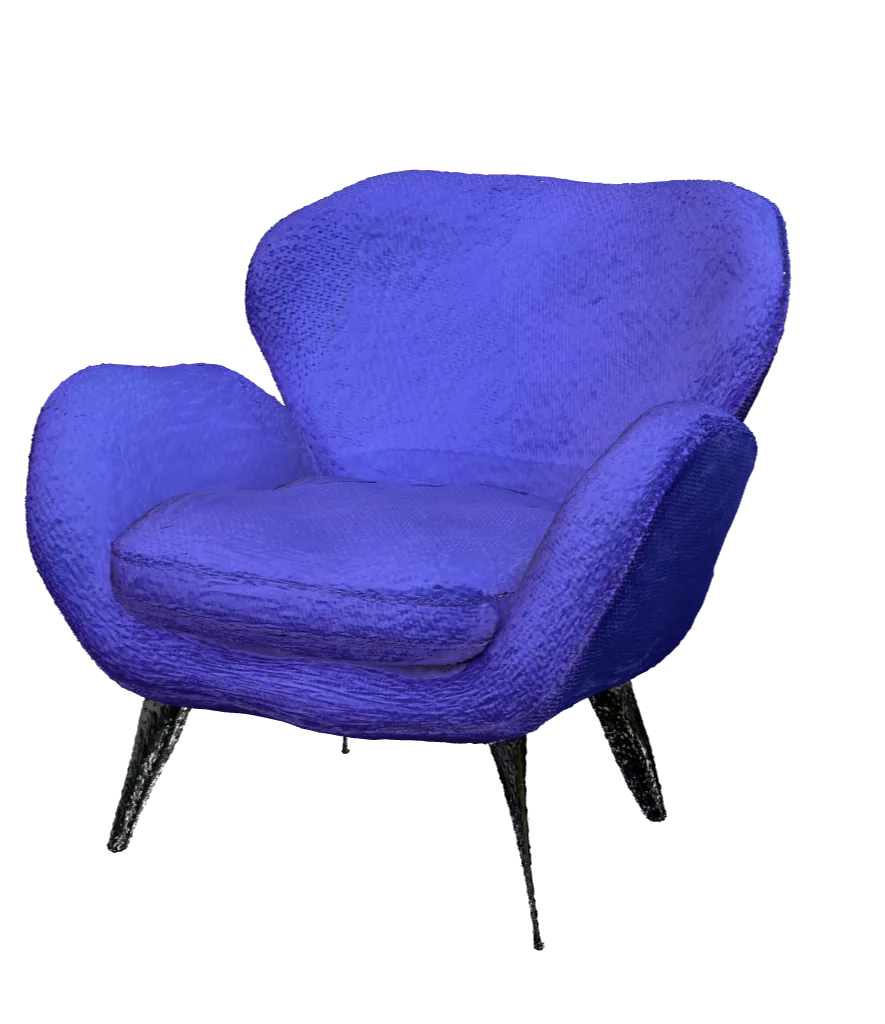
Rerun it with more photos or contact us.Publish
Copy the embed tag into your product template, or print the QR code. The viewer is live. The embed reference covers the tag's attributes.product-template.html<!-- once per page --> <script type="module" src="https://unpkg.com/@google/model-viewer/dist/model-viewer.min.js"></script> <script src="https://cdn.viewrium.com/v1/embed.js" data-pk-key="pk_live_..."></script> <!-- one per product --> <viewrium-model model-id="0b1e...-product-uuid" style="width:100%;height:480px"></viewrium-model>
App guides
Everything in this section happens in the app, no code involved: how to feed each upload mode well, how to run your catalog from the dashboard, and how to request specialist refinement.
Upload modes
Start from a product URL
If the product already has a page with photos on it, the URL is the fastest input.
- Copy the address of the product page. The photos already on it are the source material; you need nothing else.
- Open Upload, switch to URL mode, paste the address, and start. We fetch the page, pick the clearest product images, and rebuild the product in 3D.




Start from photos
Photos give you the most control over what the reconstruction sees.
- Shoot the product from all sides: front, back, both sides, and one from above. Minimum five photos are recommended.
- Open Upload, drop the photos in, confirm the measurements, and start the generation.
Start from a video
A short walk-around clip captures every angle in one take.
- Circle the product slowly with your phone for 20 to 60 seconds, keeping it centered and fully in frame.
- Upload the clip. We pull the sharpest frames automatically and reconstruct from those.
Start from an existing 3D file
Already have a model? We make it web-ready instead of regenerating it.
- Export a GLB, GLTF, FBX, or OBJ from your design tool, with textures included.
- Upload it in file mode. We convert it to a compressed GLB, host it on our CDN, and it behaves like any other model in your dashboard.
Run your catalog
Invite your team
Workspaces are shared; your catalog does not live in one person's account.
- Open your workspace settings and invite teammates by email.
- Pick a role: members manage their own models, admins manage everyone's.
- Invitees land in the same dashboard with the catalog already in place.
Team
| Member | Role | Joined |
|---|---|---|
Alicia Renner alicia@acme-interiors.com | Owner | Mar 3, 2026 |
Marcus Webb marcus@acme-interiors.com | Admin | May 18, 2026 |
Priya Shah priya@acme-interiors.com | Member | Jul 1, 2026 |
Enable or disable products
Every product has a Published switch, so publishing is reversible.
- Open a product in your dashboard, go to its Publish tab, and flip Published.
- Off pulls it from the viewer, the share link, and every embed at once. Nothing is deleted.
- Flip it back on and the same URLs serve it again.
Publish
Generate QR signage
Each product gets a QR code that opens its AR view directly.
- Open the model and choose the QR option; the code is generated for you.
- Download it and place it on shelf cards, hang tags, packaging, or catalog pages.
- Customers scan it with their camera and the product opens in their space. No app install.
Specialist refinement
Request specialist refinement
Most products publish straight from AI. For a hero product where every detail counts, our 3D specialists perfect the model on request.
- Open the model in your dashboard and request refinement. Review the estimated price for its complexity, then submit with any notes for the team.
- You get a fixed quote before any work starts. Approve it and our 3D specialists perfect the geometry, materials, and textures.
- The refined model replaces the original in place. Your existing embeds, QR codes, and links keep working, with nothing to re-paste.
SDK guides
The SDKs drive the same pipeline as the upload page, so everything you create in code shows up in the dashboard for review. These guides cover the first call; the references cover every parameter.
Your first model in Python
Two calls: one asks what it will produce and cost, one commits it.
- Install the package, then mint a secret key on the dashboard's API keys page.
- Ask for a quote from a product page URL. Nothing is written yet: you get the plan, the price, and a resume token.
- Post the token back to commit. That call starts the run; watch it land in your dashboard, or poll retrieve until display_status leaves generating.
Reference depth: the Python SDK docs and the API reference.
$ pip install viewriumfrom viewrium import ProductCreateRequest, ProductDraft, Viewrium
client = Viewrium("sk_live_...")
parked = client.products.create(
ProductCreateRequest(
source_url="https://store.example.com/oak-chair",
draft=ProductDraft(custom_id="sku-oak-chair"),
)
)
print(parked.cost.total_cents) # nothing is written yet
product = client.products.create(
ProductCreateRequest(resume_token=parked.resume_token)
)
print(product.id, product.display_status) # -> "<uuid>", "generating"Your first model in JavaScript
Same shape as Python, TypeScript-first, and it runs on Node 18+, Deno, Bun, and edge runtimes.
- Install the SDK and pass it a secret key from the dashboard's API keys page.
- Ask for a quote from a product page URL. A fresh request parks, so nothing exists until you commit it.
- Post the resume token back, then review the product in the dashboard like any manual upload.
Reference depth: the JavaScript SDK docs and the API reference.
$ npm install @viewrium/sdkimport { Viewrium } from "@viewrium/sdk";
const client = new Viewrium({ apiKey: "sk_live_..." });
const parked = await client.products.create({
source_url: "https://store.example.com/oak-chair",
draft: { custom_id: "sku-oak-chair" },
});
if (parked.status !== "parked") throw new Error("already committed");
const product = await client.products.create({
resume_token: parked.resume_token,
});
console.log(product.id); // generation has startedGenerate your whole catalog
One loop turns a product feed into an AR catalog. A webhook tells you when each model is ready, so nothing polls.
- Subscribe an endpoint to product.completed on the dashboard's webhooks page.
- Loop over your feed: quote each product, then commit the token it answers with. Pass your SKU as custom_id so each webhook maps back to your system.
- Handle the webhook: the payload carries your custom_id and the finished model's URL. Review the batch in your dashboard afterward.
Reference depth: webhooks and the API reference.
for item in catalog:
    parked = client.products.create(
        ProductCreateRequest(
            source_url=item["url"],
            draft=ProductDraft(custom_id=item["sku"]),
            order=ProductOrder(images=True, model=True),
        )
    )
    client.products.create(
        ProductCreateRequest(resume_token=parked.resume_token)
    )

# each finished product arrives as a
# product.completed webhook, custom_id attached
Catalog
1 product
Cobalt sculptural lounge chair
PublishedCatalog
4 products

Cobalt sculptural lounge chair
Light gray boucle three-seat sofa
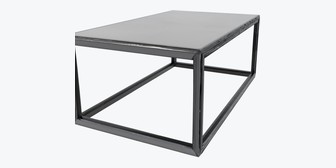
Steel and glass coffee table
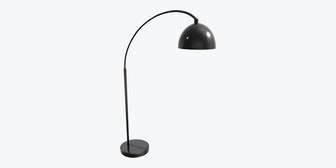
Black arc floor lamp
Embed guides
Three ways to put a finished model in front of a customer: on your site, on paper, and in a message.
QR codes for print
The same code from the dashboard works at print scale.
- Download the QR from the model page; it's generated for you.
- Place it where the decision happens: shelf edge, hang tag, catalog page.
- Scan a test print before the production run. Size and glare decide scannability.
Share links for email and support
Every model has its own hosted page with a stable link. No account needed to open it.
- Copy the share link from the model page.
- Send it in a quote, a support reply, or a campaign.
- It opens straight into the 3D view, with AR one tap away on phones.
Shopify guides
Viewrium installs as a Shopify app, so 3D and AR attach to your product pages as native Shopify media. Install, generate from your catalog, and publish without touching your theme.
Install the Shopify app
Viewrium installs from the Shopify App Store and connects to the store you already run.
- Install Viewrium from the Shopify App Store and approve the connection to your shop.
- The app opens on your products page inside Shopify admin. Your theme, templates, and storefront stay exactly as they were.
Generate from your catalog
The app reads your product list, so you pick products instead of re-uploading photos.
- Open the Viewrium app and select the products you want, or select the whole catalog at once.
- Start generation. The AI builds a model from the photos already on each listing, and every model stays linked to its product.
- For a hero product that needs extra realism, request specialist refinement on the model without leaving Shopify.


Publish to product pages
Approved models attach as native Shopify 3D media, next to your product photos.
- Review each model and approve it. Nothing publishes until you do.
- The model takes a slot in the product gallery. Customers rotate it there and open AR on their phone, and Shopify handles the iPhone format for you.
- No theme edits and no extra code: the model appears on the product page you already publish.
 Powered by Shopify
Analytics
Once a model is live, the usage page tracks what customers do with it: how often the viewer loads and how often they open AR, per product.
Open your analytics
The Analytics page shows what happens to your models after they go live.
- Open Analytics in the dashboard for views and AR opens across your whole catalog.
- Every viewer load and every AR launch is counted per product, so you see which models customers actually open.
Analytics
3D views, AR sessions and generations in Acme Interiors.
Activity over time
Read views and AR opens
Two numbers per product: how often the viewer loaded, and how often a customer opened AR.
- Compare views against AR opens to see which products pull customers into AR.
- Switch the date range between the last 7, 30 or 90 days, the last 12 months, or a custom range, to line up products against each other, or one period against the last.
| Product | Views | AR opens |
|---|---|---|
| Cobalt sculptural lounge chair | 1,204 | 312 |
| Light gray boucle three-seat sofa | 968 | 241 |
| Steel and glass coffee table | 742 | 165 |
| Black arc floor lamp | 588 | 119 |
Export with the usage API
The same numbers are available over the API when you report somewhere else.
- Pull views and AR opens over the usage API and load them into your own dashboard or spreadsheet.
- Narrow the numbers to one product, one kind of event, or any date range you choose.
{
  "start": "2026-06-21T00:00:00Z",
  "end": "2026-07-21T00:00:00Z",
  "granularity": "day",
  "buckets": [
    { "period_start": "2026-07-20T00:00:00Z", "event_type": "view", "count": 968, "cost_cents": null },
    { "period_start": "2026-07-20T00:00:00Z", "event_type": "ar_enter", "count": 149, "cost_cents": null },
    { "period_start": "2026-07-20T00:00:00Z", "event_type": "generation.completed", "count": 73, "cost_cents": 2920 }
  ],
  "totals": {
    "view": 4025,
    "ar_enter": 595,
    "generation.completed": 291
  }
}Stuck anywhere? The contact page reaches a human.